8 tips for amazing family photos this summer
If you haven’t had a chance to attend one of my beginner’s photography workshops yet, don’t despair! You can start to make a HUGE difference to your summer photos just by following my top 7 top tips - and I’ve even created a handy free download !! These tips are suitable for everyone - whether you are shooting with an iphone or a professional camera.
1 - Get out of the sun
Too much sun is bad for your skin - and it’s bad for your photography!
Yes the summer sunshine looks pretty to us. But the sun is like a powerful spotlight above your head, giving the most unflattering, aging photos. If you want a flattering portrait, a gorgeous photo, NEVER ask your children to stand in the sunshine and say cheese. Instead, find some solid shade (not dappled) - you’ll be amazed at the difference. No squinting. Sparkling eyes. Beautiful skintones.
And even better if it’s late afternoon, when the shade is even more gentle and forgiving. This is a lovely flattering light for parents too, so avoid any selfies in the midday sun if, like me, you’re over 40 and have a few lines you want to hide!
Full sun - with dark eye sockets, squinting and the sun showing every wrinkle on adults!
Not much shade here, but still - the shady side of the playground is far better for photos..
On a super-sunny day, I took my son to the shady side of the castle for a better photo
On the cloudy days, things are far easier. Well for photography anyway!
2 - Don’t say cheese!
Take MOST of your holiday photos when your kids aren’t looking at the camera but occupied with something else. The results will be far more meaningful than a awkwardly posed, fake-smiley photo, and your kids are less likely to get sick of you asking to take their photo. You will enjoy these photos far more than the “cheese” photos in years to come.
Documentary-style photos like this can also work well if are in somewhere sunny (see Point 1) and there isn’t any shade. Because with this type of photo you are just capturing what’s happening and you aren’t so worried about it being a beautiful light, and it’s less likely to be a close-up.
Crazy bright noonday sun! Posed photos would be awful so I've opted for documentary shots.
Walking through this maize maze, I snapped this as he walked followed behind me
The kids played this for over half and hour, oblivious to my camera!
If your kids are looking at something, make sure that's also in the photo, so that the photo tells the whole story.
3 - Don’t chop off limbs
That’s a general rule for life - but as it turns out, for photography too!! Pay attention to where you are chopping and what’s on the edge of your photo.
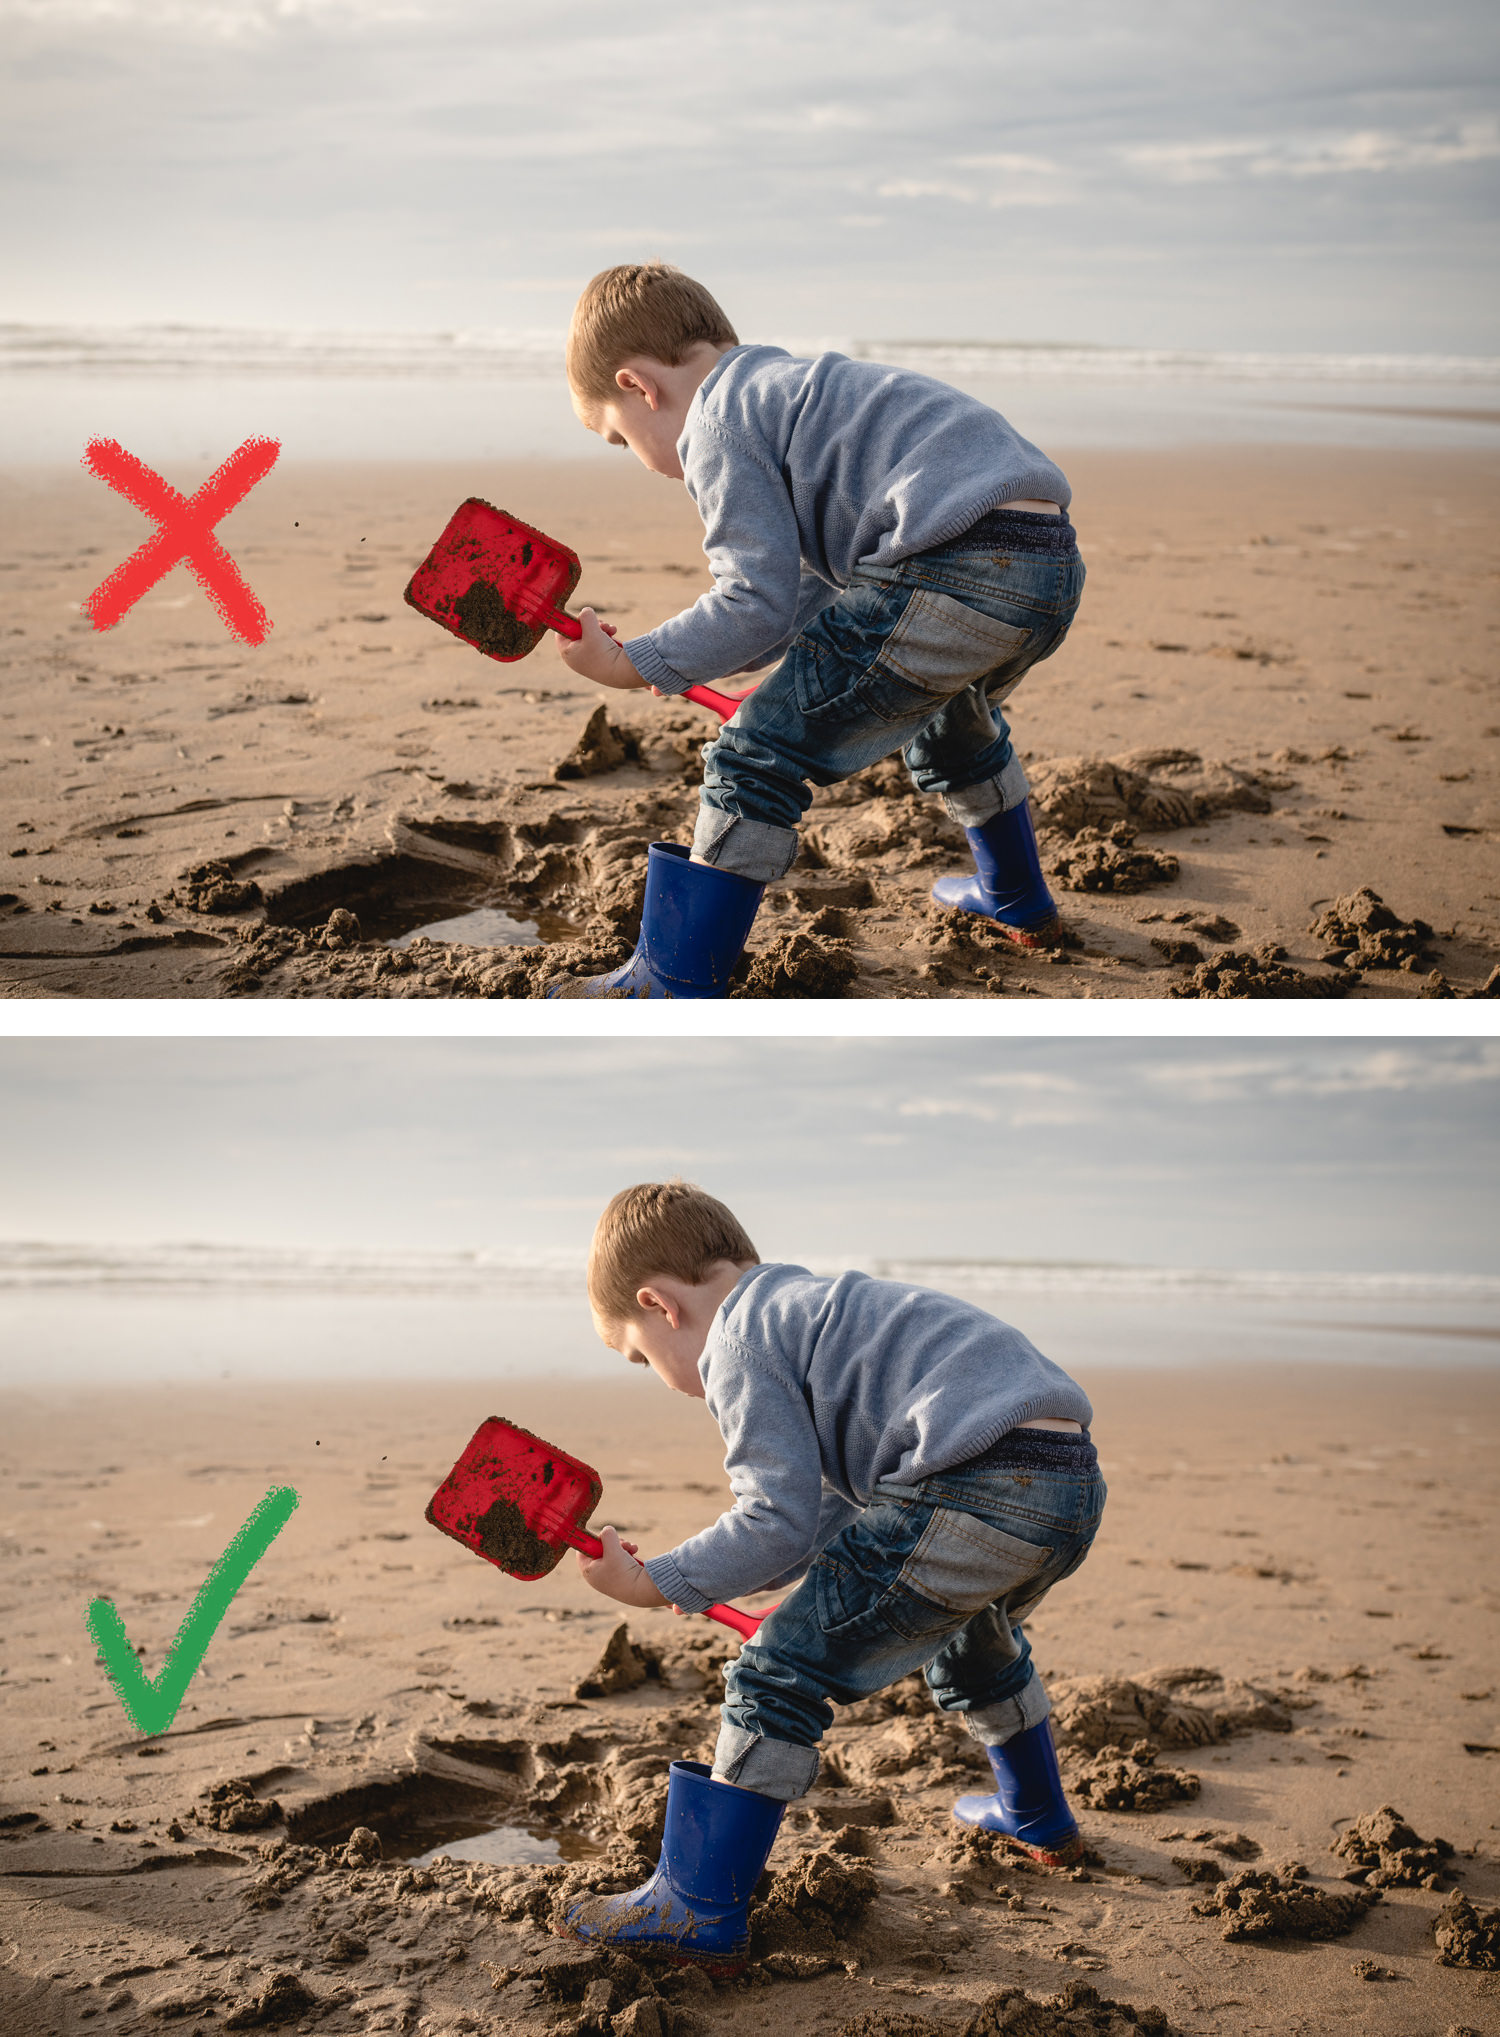
For a full-length shot, try to keep the whole child in the photo . If you chop off just their feet, or if their feet are touching the bottom of the photo, it makes the photo look a lot more amateur.
For a more close-up photo, you might be intetionally chopping them at the waist or mid-chest. That’s fine of course - but in this case look out for hands on the edge of the photo. Chopped off hands or just a few chopped fingers gives the whole photo a messy distracted composition. Paying attention to these small details makes a huge difference to the end result.
4 - Kids repeat their behaviour
You know when your child does something hilarious or cute, and you think “rats! I missed it”? Well, one of the key things I’ve learnt over the years photographing children, is that they are very, very repetitive. Think about them singing the same song over and over, or kicking your seat when you’re driving - over and over…
If you don’t say anything and interfere, odds are they will repeat their behaviour. But this can be used to your advantage for photography. For example, in the example below, I was standing beside my son whilst he decided to do this odd tree-climbing pose. He jumped down, but knowing he would probably do it again, I quickly moved to a better area to photograph it, and sure enough, he climbed up again.
My son doing some impromptu yoga at Lake Como in Italy
Once they start cartwheeling, they rarely stop at one!
I noticed my daughter ducking down occasionally to steady her binoculars on the wall. Sure enough as soon as I got my camera out, she ducked down again!
I saw him creating a repetitive game of moving chess pieces and falling over. So I just had to wait for another demo!
5 - Never take just ONE photo
When a professional photographer wants a “good photo”, they never take just one. They might take 40 photos just to get one that they think is “great”. Decades ago I used to shoot film, and back then had to consider how much each photo was taking, but with the luxury of digital cameras you really have NO EXCUSE!
If your kids are posing for you, click 5 shots quickly. If they are digging sandcastles, take position and click 5 shots, move position and click 5 more. If you are worried about filling your memory card, please buy a bigger memory card - they are thankfully very cheap compared to what they once were.
Click that button more and you will quickly find you have far more photos which you like!
Just some kids and yellow inflatables, Notice how the story evolves in front of me, and sometimes I don’t get anything interesting in the photo, and sometimes the kids do something funny, pull a great expression, or interact with each other and I was in the right place at the right time.
A scottish beach on a cold day. Notice how I’ll take a few shots of each thing before deciding whether to move on, or take a few more. I would keep less than 10% of these photos but if I hadn’t taken all of them I wouldn’t get so many “keepers”..
6 - Embrace the faceless photo
I often see people moving around trying to get faces in the photo. Sometimes doing so means you miss the interesting moment. But faces really aren’t always necessary.
A picture tells a thousand words on it’s own. Plus the bonus with a faceless photo is that no-one sees you taking it, so you don’t interupt them and get a far more natural, authentic photo rather than a stiff, awkward pose.
Deep in thought watching tourists and gondoliers
Repetitive behaviour, fetching stones to build a tower.
Welly golf in Norfolk!
A brother-sister moment that would NEVER have happened if I had asked them!
7 - Get the details
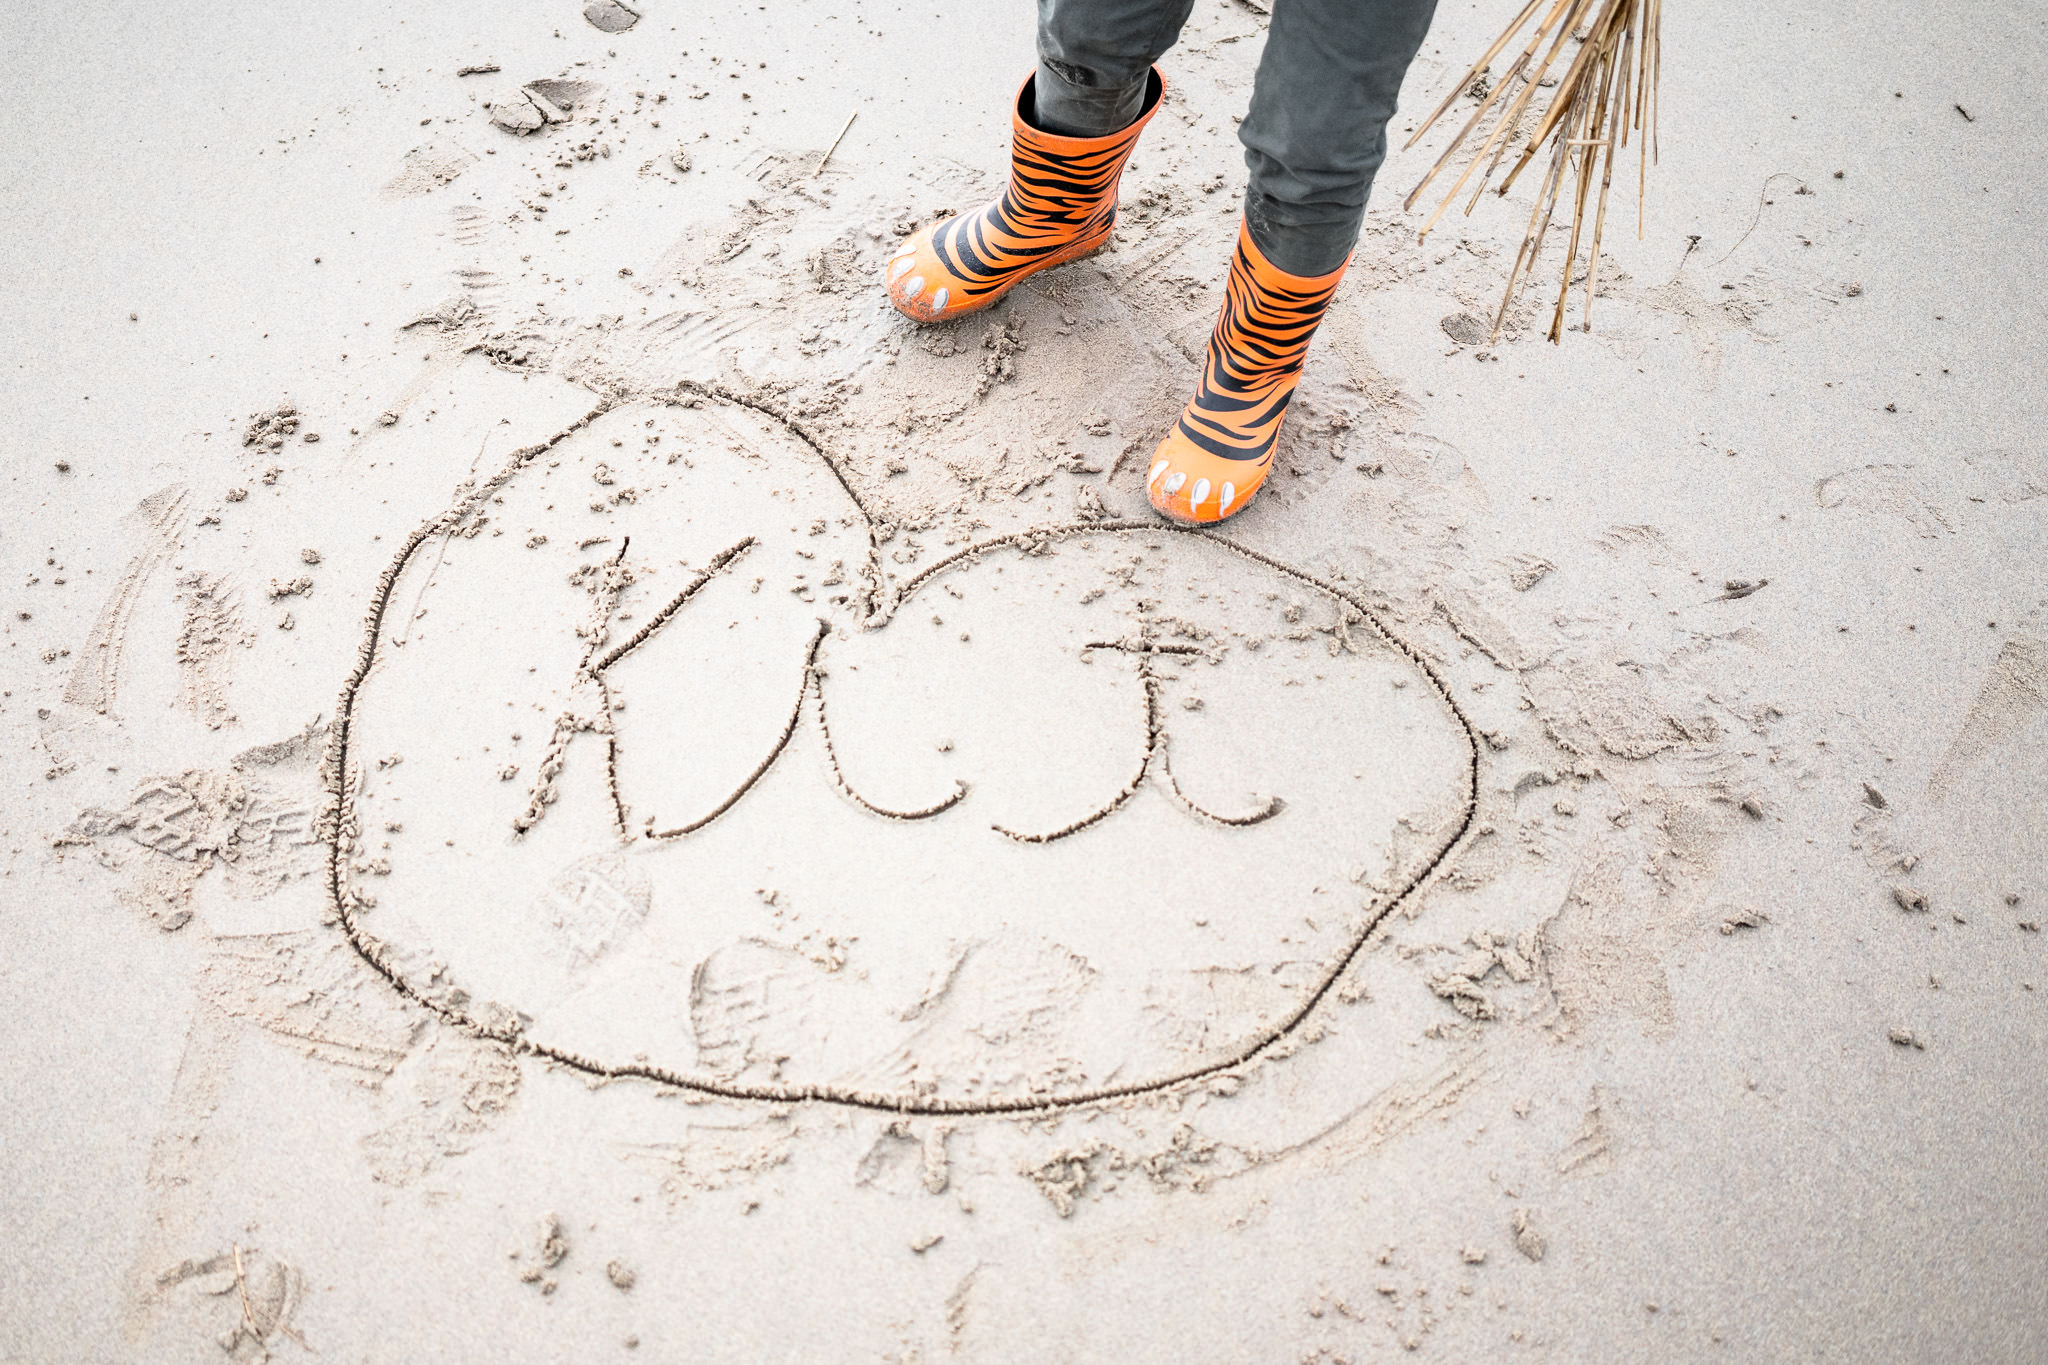
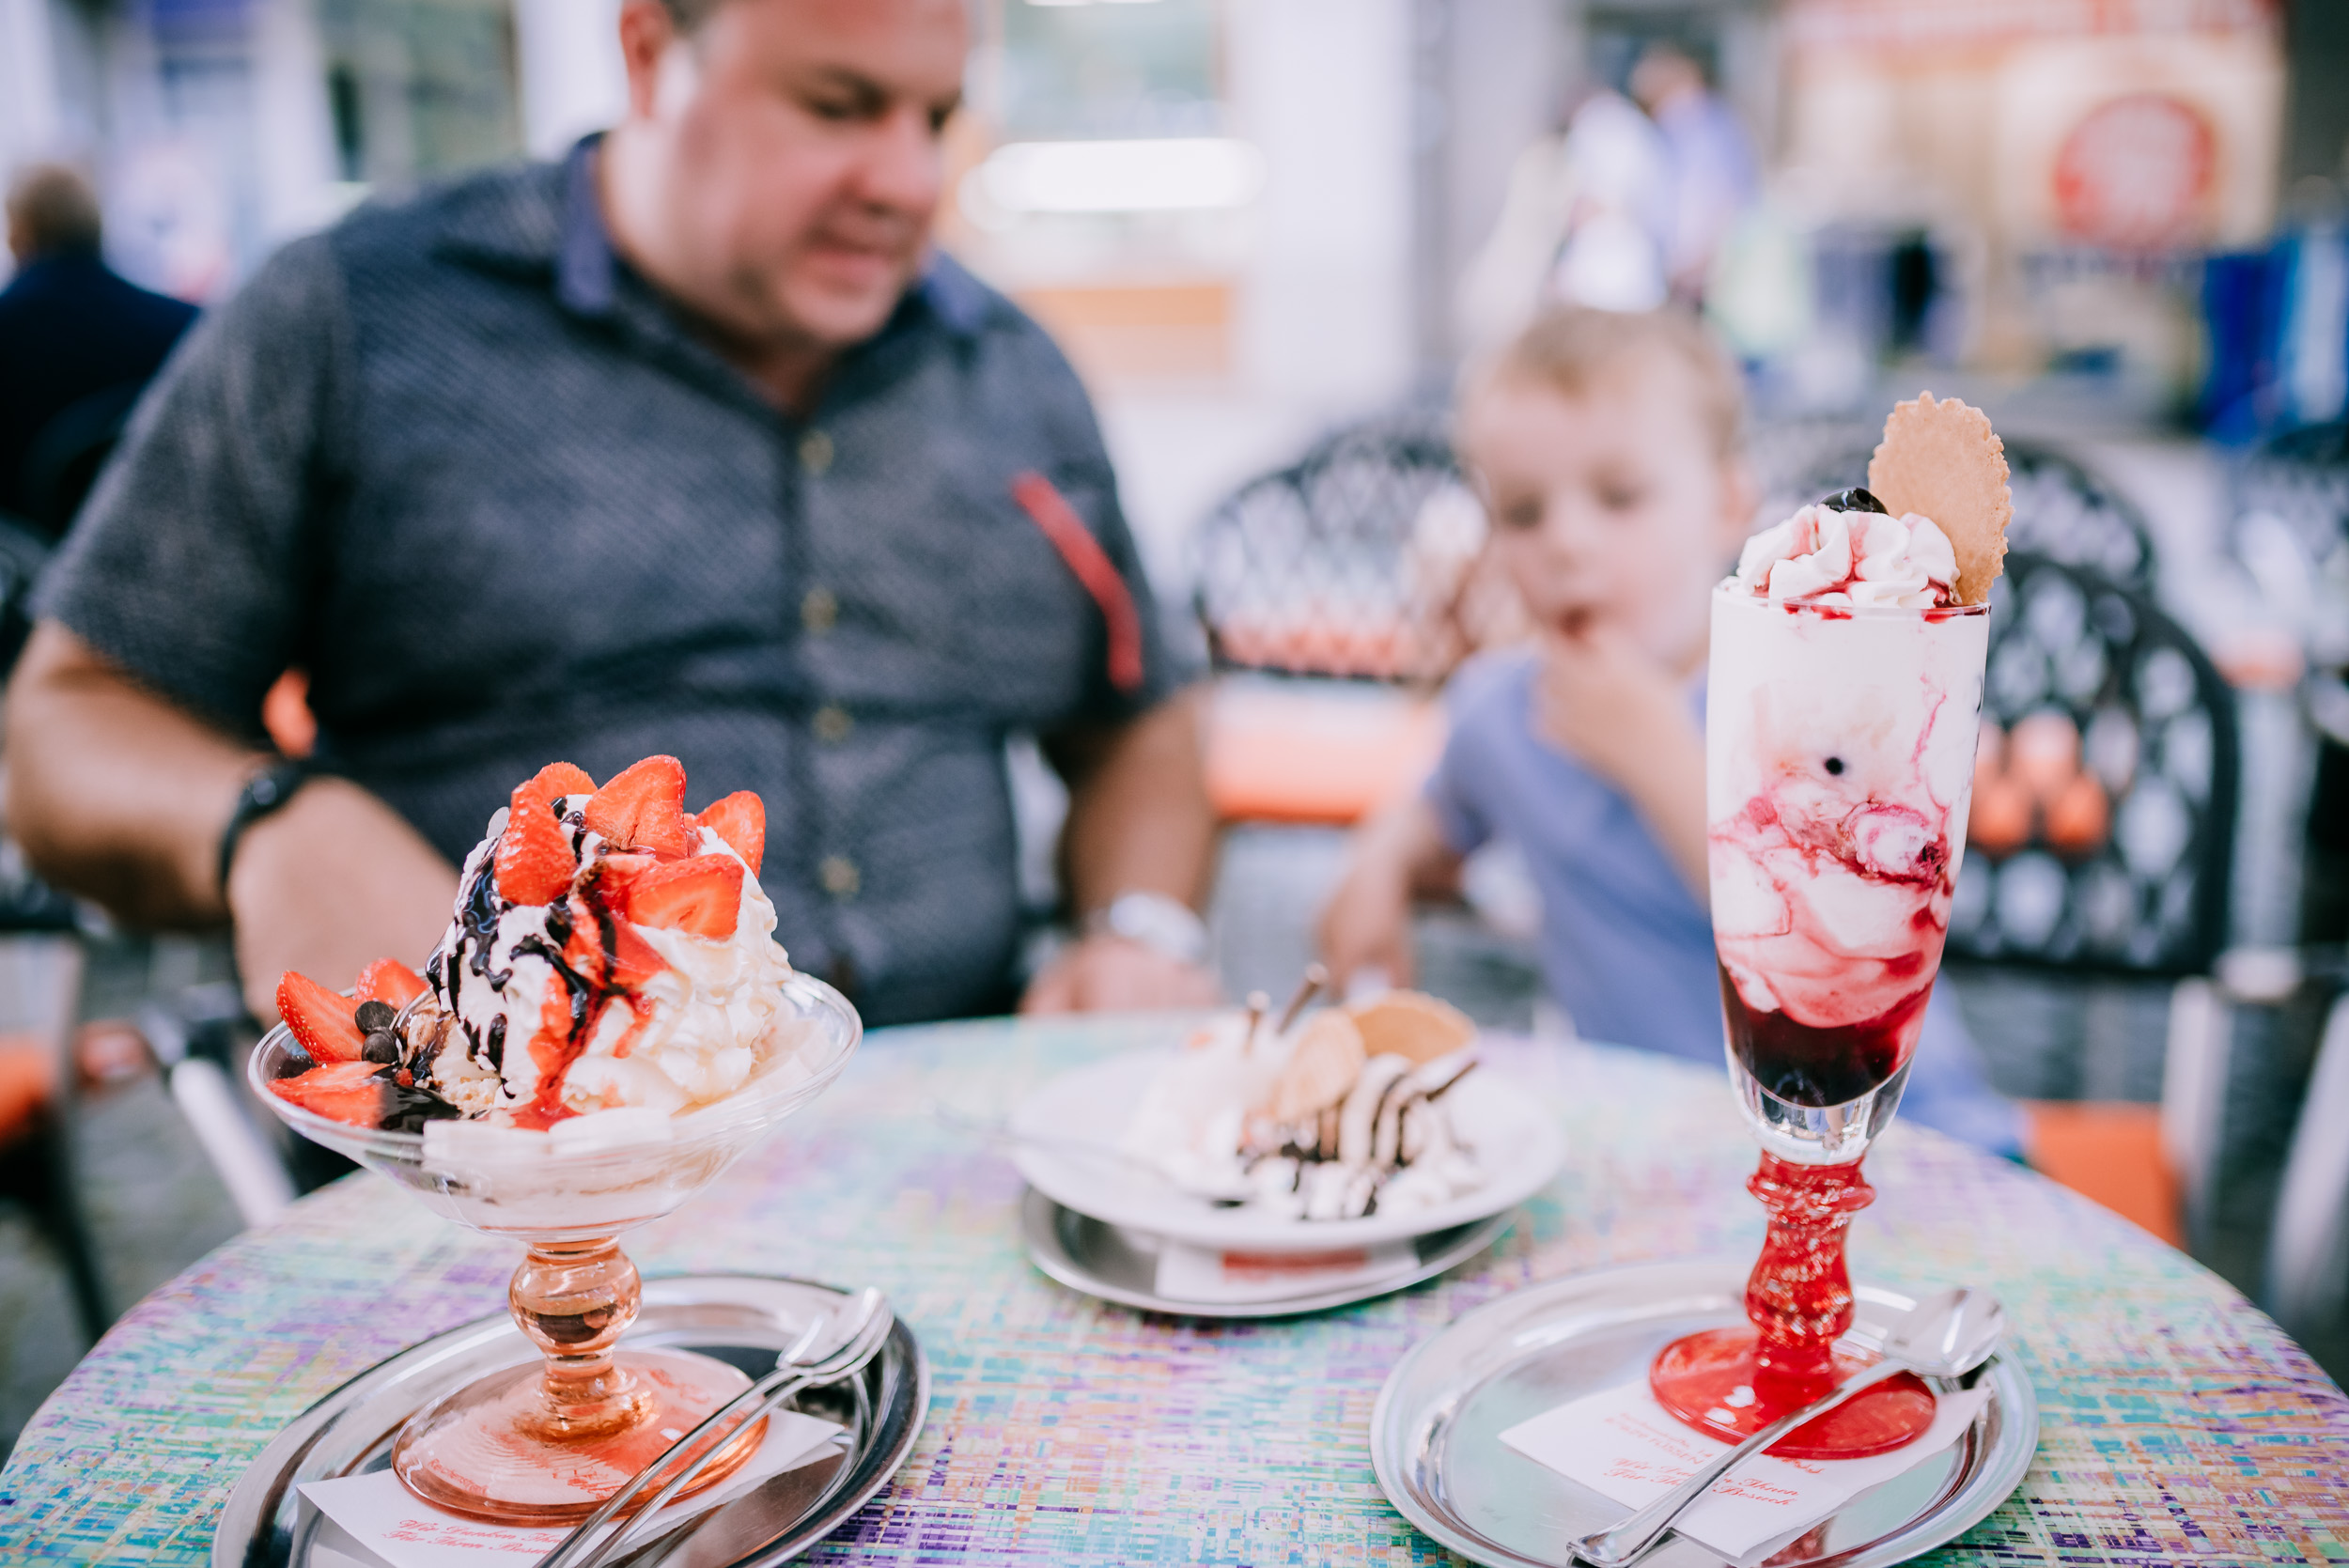
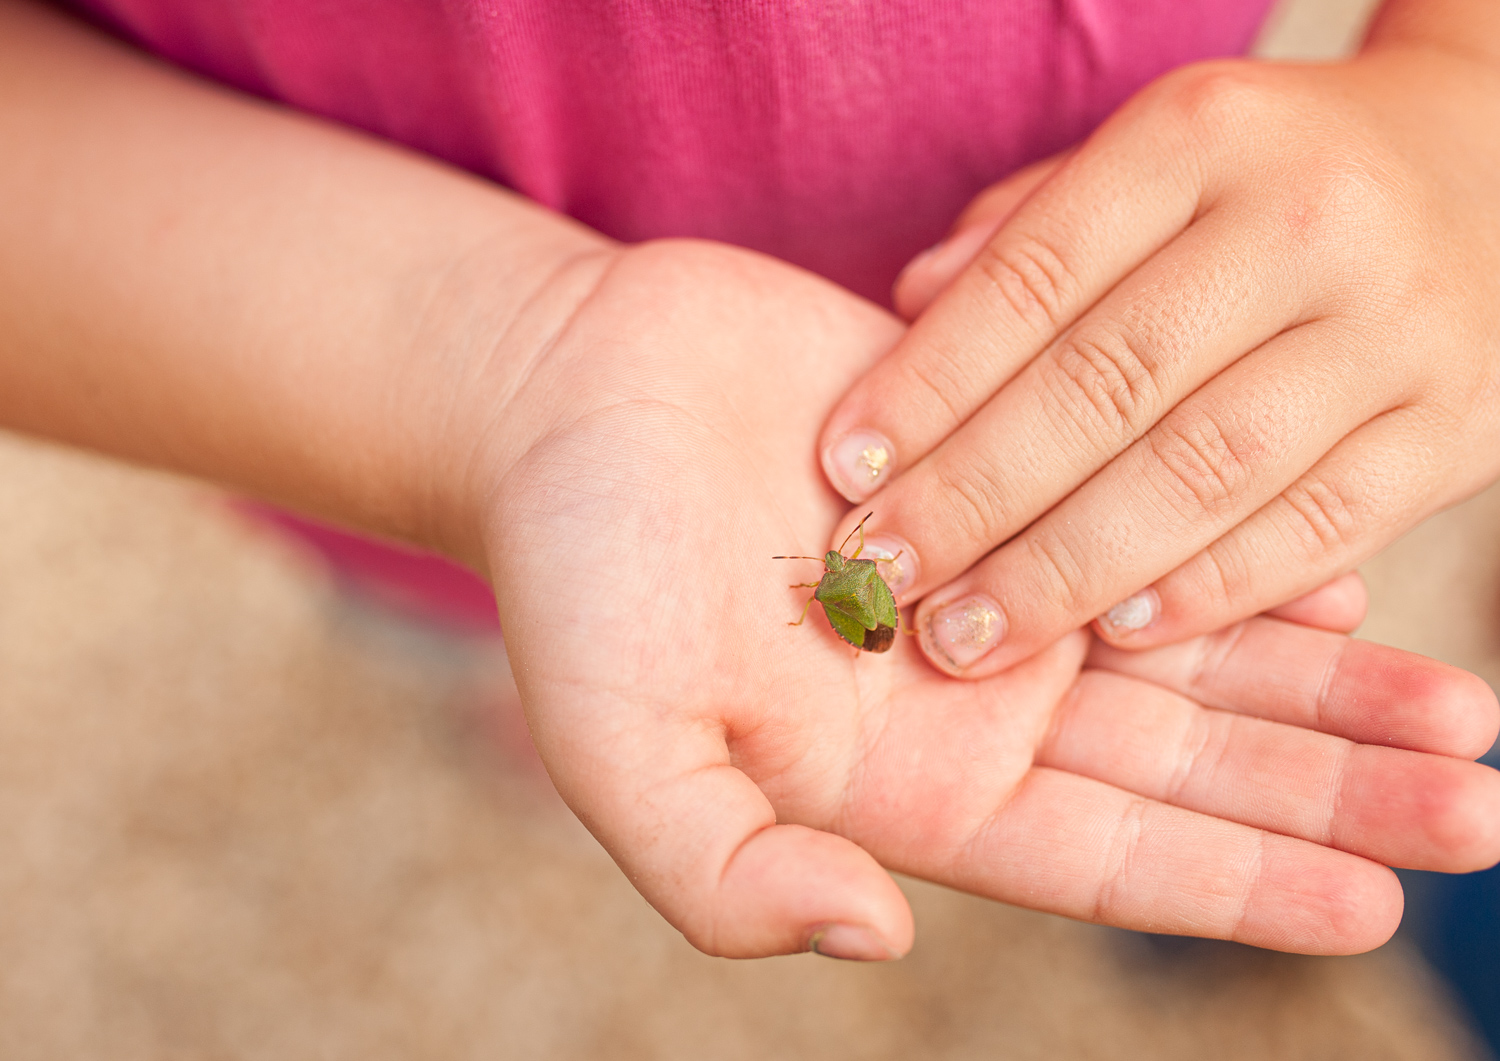
Long after the writing on the sand has washed away, and the impossibly-large-ice-cream has been eaten - you still want to remember these details. These can be the easiest photos to take, but can also bring the most nostalgia when you look back at them. Get close up and include only what’s necessary.
8 - Get your camera out the bag
This is the biggest hurdle to nearly EVERYONE - even professional photographers on holiday, believe me!
Without this, however, all the other 7 tips are completely useless.
Let’s face it, holidays are not all sightseeing and sangrias once you have children. You might be worn out by a screaming toddler, laden down a rucksack of provisions, and sleep deprived. Let’s be honest, holidays with children aren’t relaxing in the slightest. So despite the best of intentions of recording these “golden memories” the camera stays in the bag - or even worse, in the hotel!
The effort of taking some photos is actually very small, and if you are taking far MORE photos (tip 5) it quickly becomes a habit, rather than something you forgot to do. This small amount of effort will really pay dividents when your kids are grown and you have all these small memories captured, to enjoy yourself but also to share with your kids as grown-ups.
Take your photography to the next level, at my beginners photography workshop
If you have a DSLR or mirrorless camera and would to learn more about photography, please take a look at my one-day beginner’s photography workshop, ROCK YOUR CAMERA. You will learn to take control of your camera, how to use light, and compose your photos to start getting photos to be proud of. One-day courses run throughout the year, dates and more details can be found on the Rock Your Camera course description here.
Download a print-friendly version
To download a FREE version of the tips above - just click the image below.


